Thursday, June 15, 2006

Louise (left) and Fran (right) spinning (heritage craft) in Fran's home
(a heritage house) looking somewhat heritage in their shawls.
That's Lily in the middle.


I love the way Fran chose to model this shawl for us. Doesn't she look provocative?


Notice the beads in the fringes and the double lines of hemstitching.

The "colored" side. Which do you like best?

The "white" side.

Tuesday June 13th

This week's gathering was held at Fran's beautiful heritage home. As always we had a wonderful visit while working on spinning and other like crafts, and eating very tasty treats. Louise brought "the shawl" with her for us all to see, feel and enjoy. She had "fulled" or "wet finished" it which makes it softer to the feel than when it comes off the loom, and this part of the process slightly shrinks the item so the treads are tighter and closer together. Louise also added beads and twisted the fringes. On this shawl there is a "white" side and a "colored" side. I took some pictures of it on a chair, then got Fran to model for us.

Sunday at Lumby

Last year I just went to Lumby days on Saturday, but this year I went Saturday and again on Sunday. The Sheep-to-Shawl demo was on Saturday, and on Sunday Louise and I were the only ones there for most of the day. Souise plyed some wool she had previously spun, did a bit of sampling on the loom to use up left over warp and weft threads, and then started spinning some beautiful purple silk. Meanwhile, I spun flax. I had never spun flax before so Louise showed me some of the basics of working with this fibre. I now see why many people only spin flax on time, then never again. I doubt I will work with it again either. It is a very difficult fibre to work with... or at least the quality of flax I have, though Louise also said there is better quality flax out there too. This is shorter bits and pieces and just knots up as you try to work with it.... grrrrr.

Wednesday, June 14, 2006

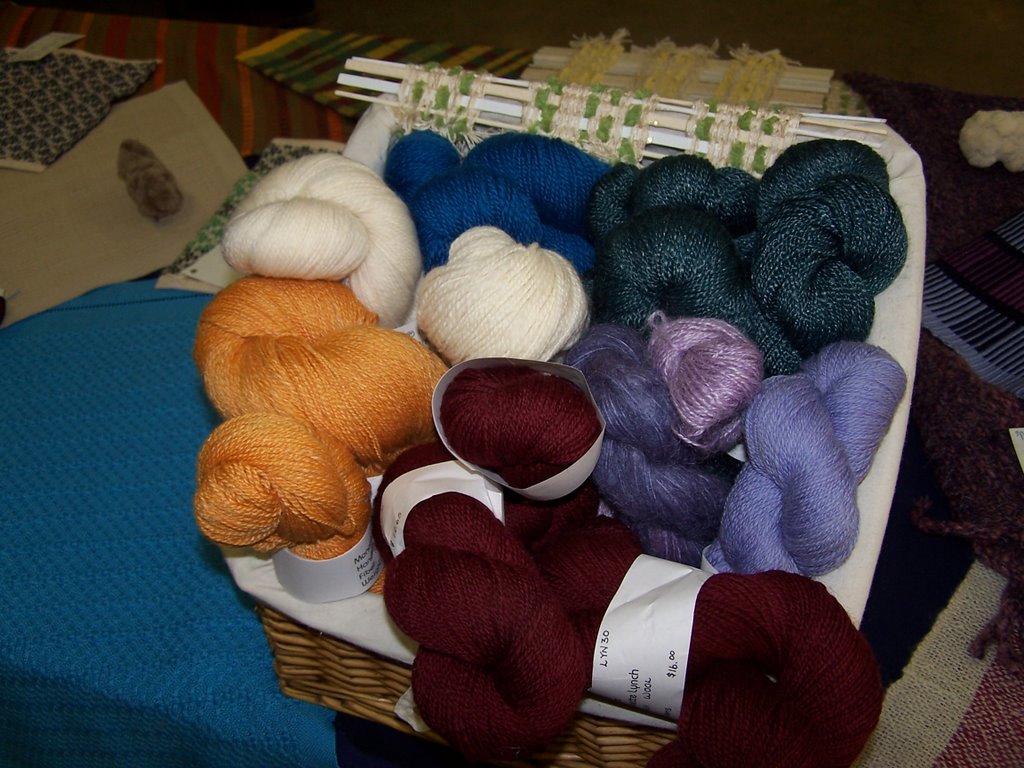
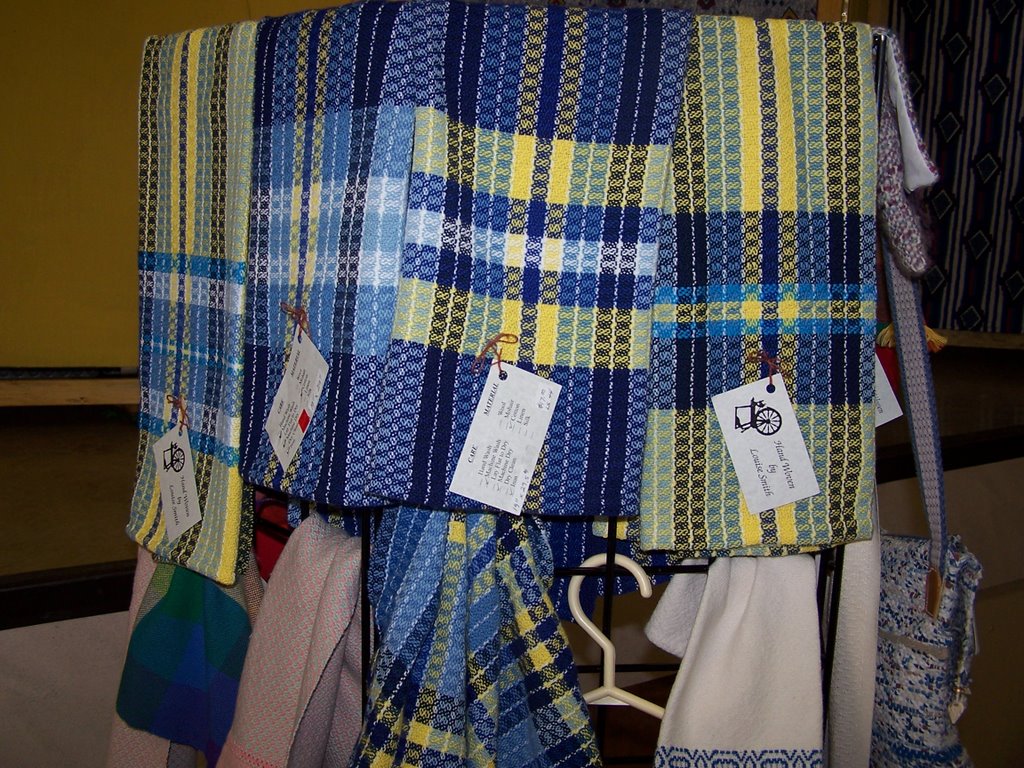
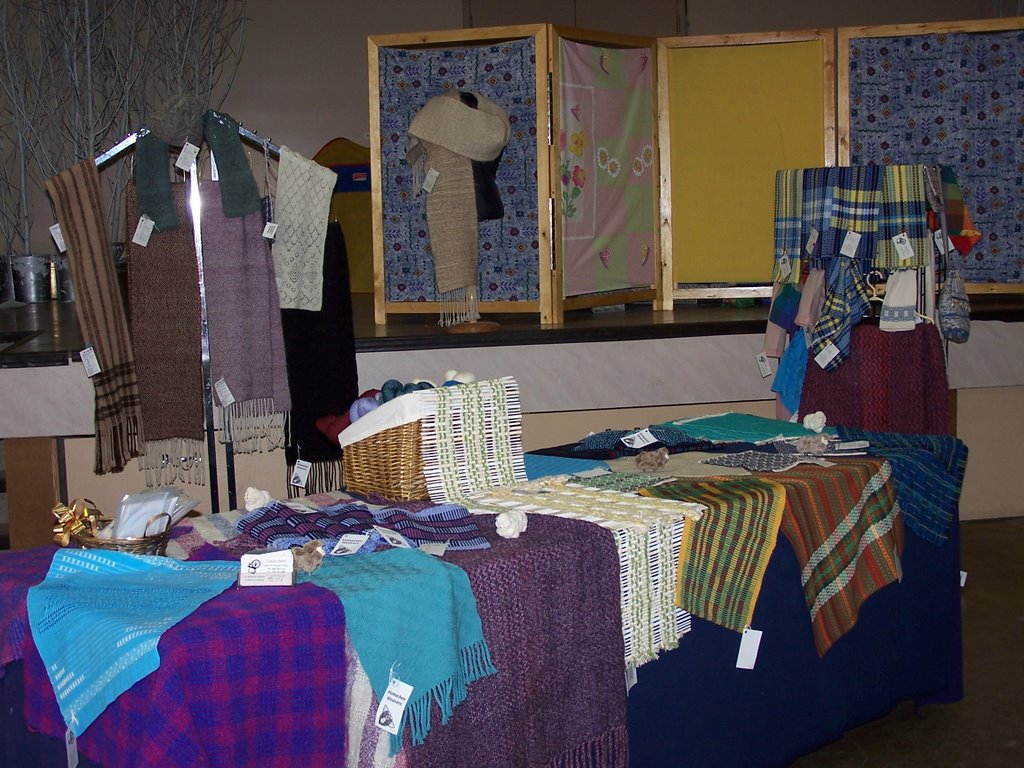
All these wonderful items on the table and the stands behind it, even on the stage. See what I mean when I say I am blessed to have these ladies teaching me to spin and weave? Very talented!!
Here's one for Kiwi! This is Louise's spinning wheel. It's an Ashford Traveller, made in New Zealand. I think this wheel is really nice and would love to have one, or maybe better yet is the Ahsford Joy (ultra compact and ready to go).


We had a sale table at Lumby Days this year. I didn't have anything to sell, but Louise, Lynnette and Rosalie did. Here are some of the beautiful items they made.

Tuesday, June 13, 2006

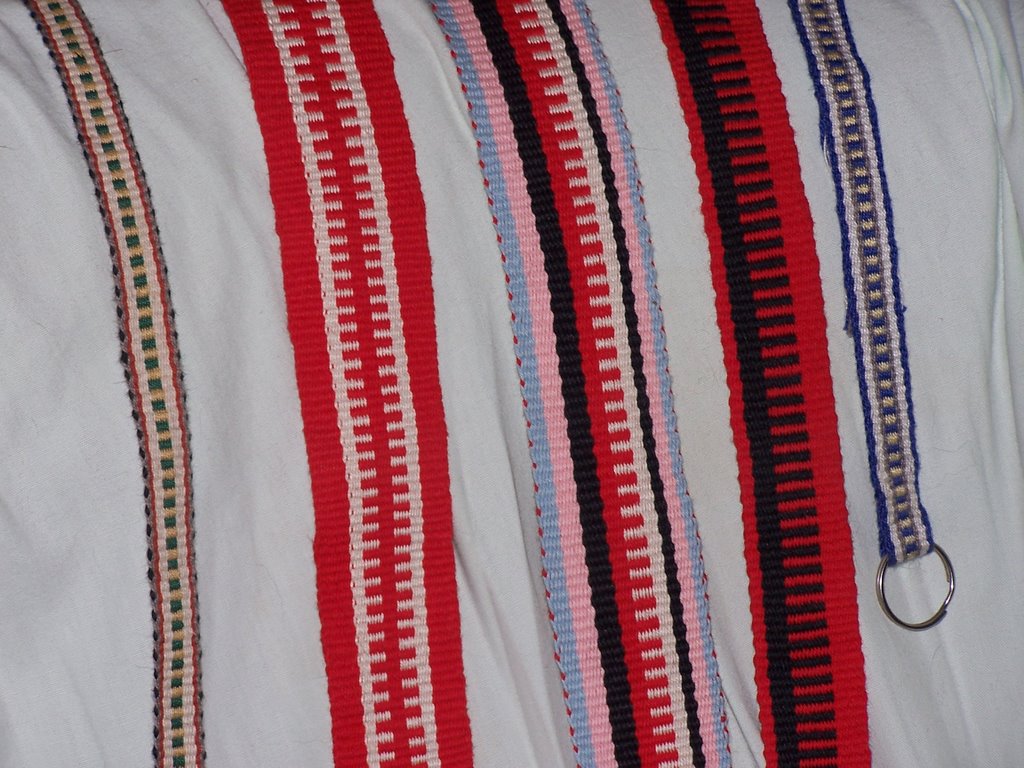
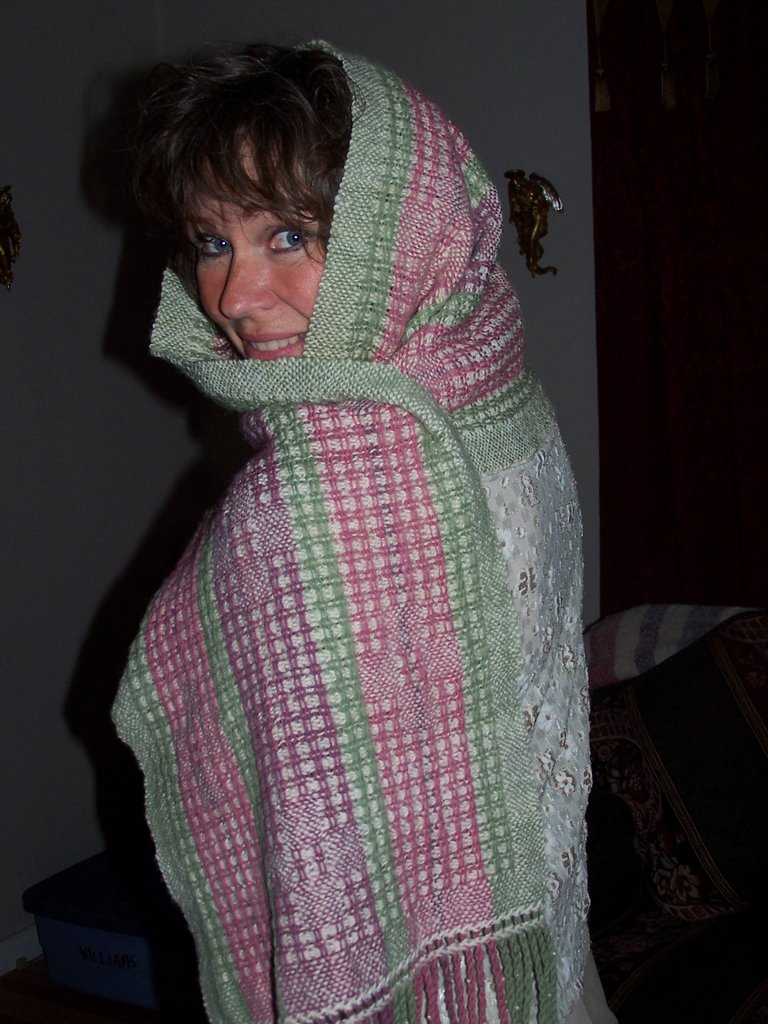
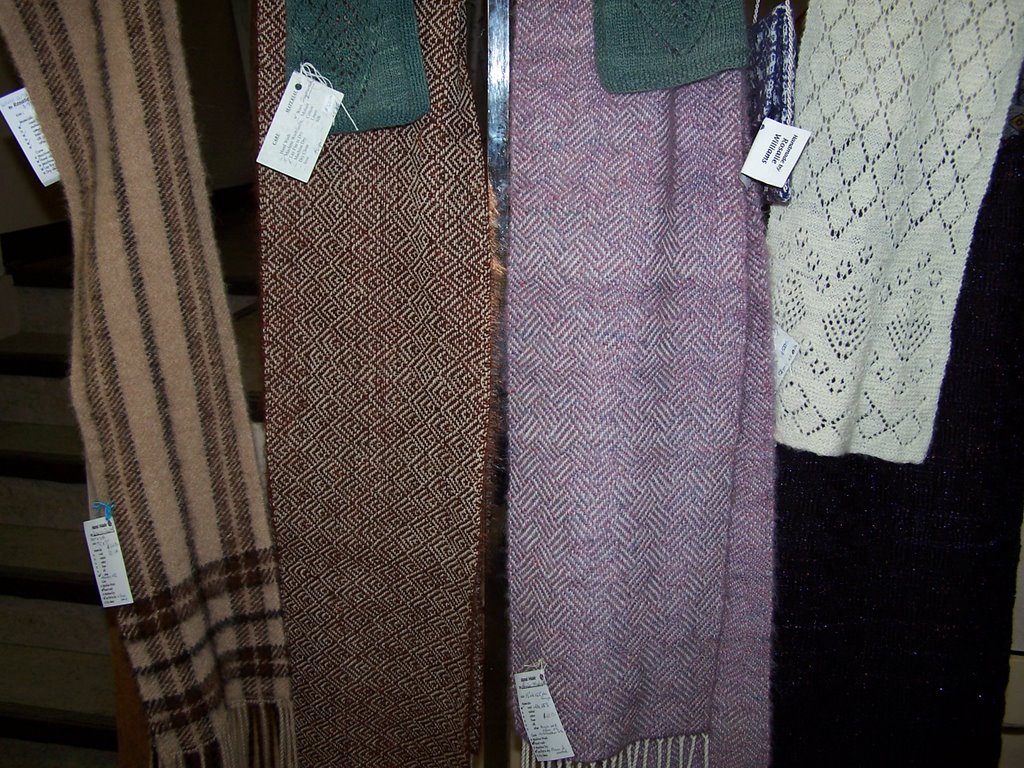
Notice the flower pattern, and how there is a thin purple stripe in the pink and a thin pink stripe in the purple. The colors are the warp and the white is the weft.
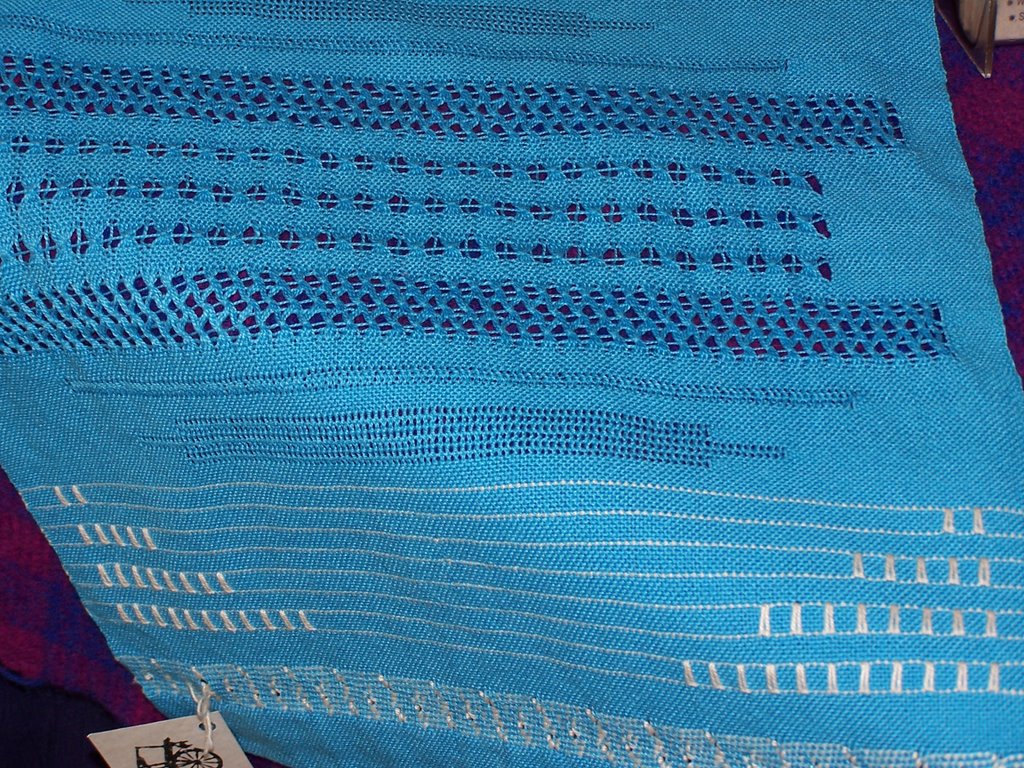
Here are a couple close ups of the shawl after it was cut off the loom. It still needs to be wet finished (also called "fulled") which Louise will do at home.
And here is Denise, packing up her wheel and getting ready to head home after a long day.
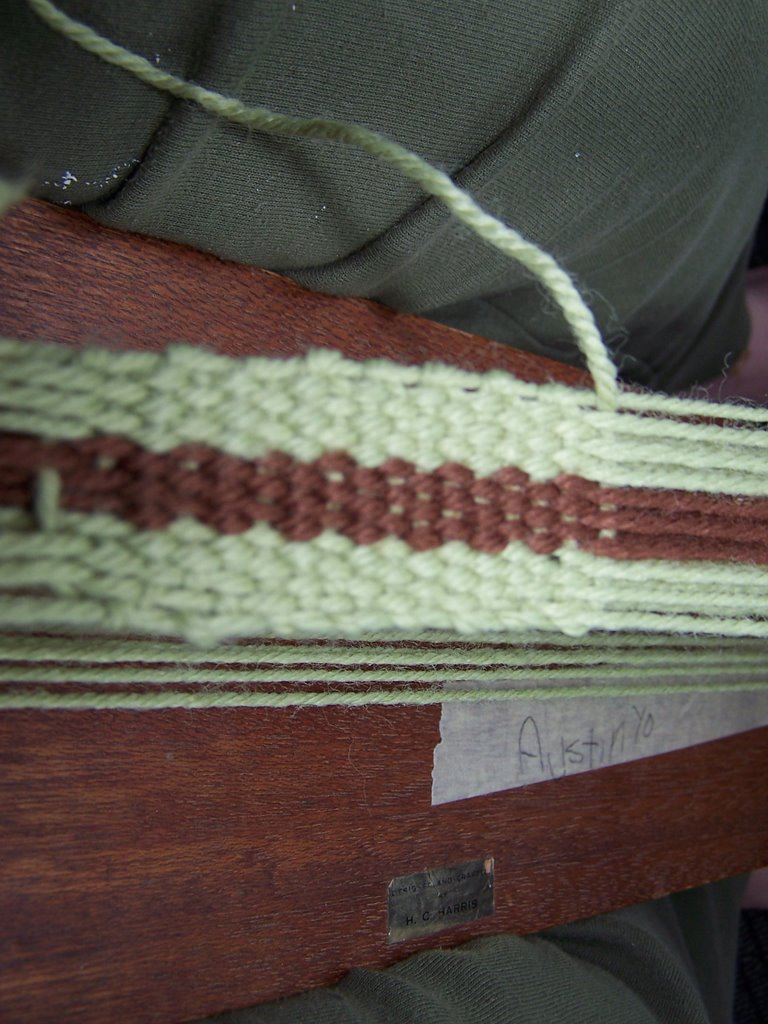
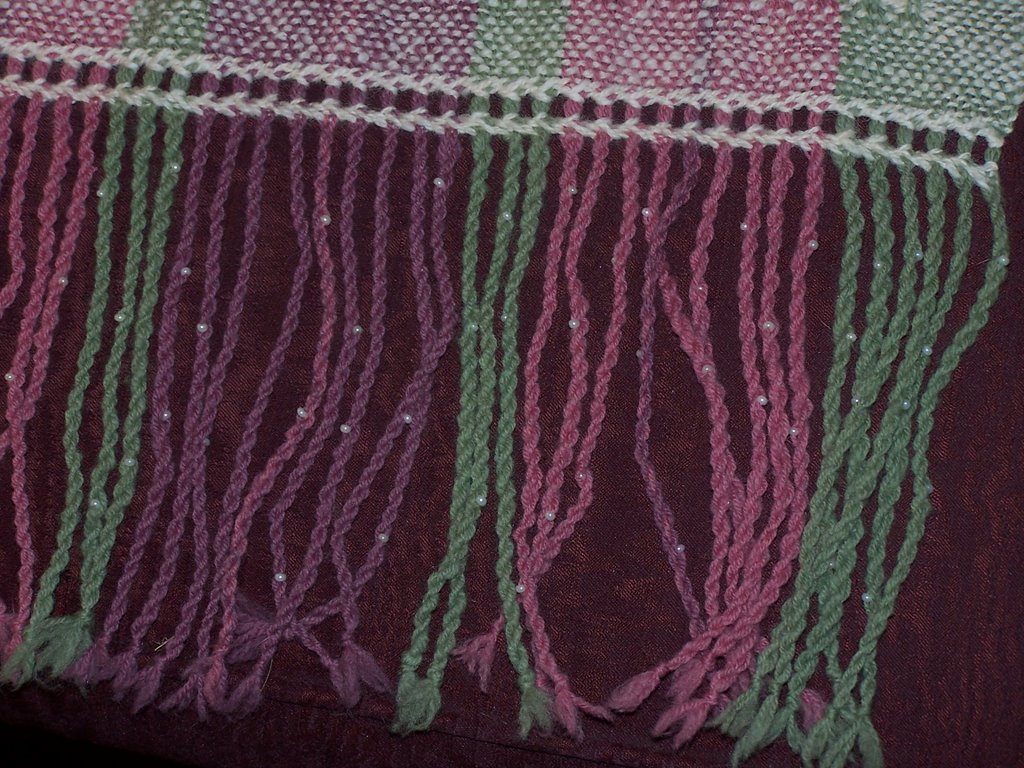
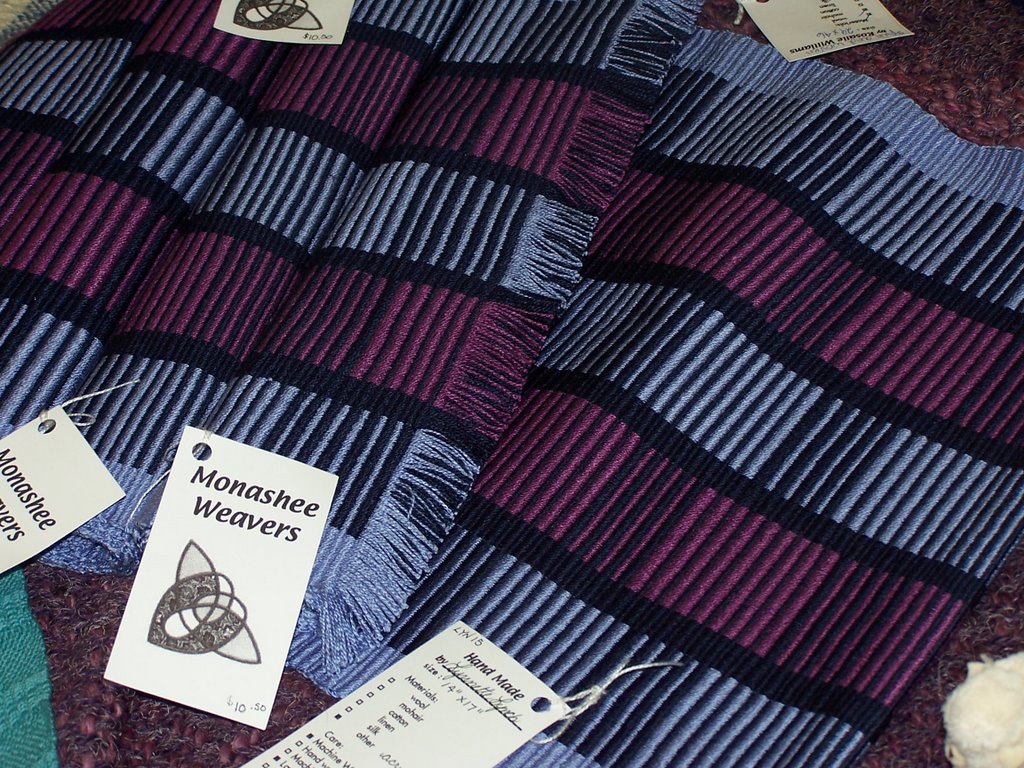
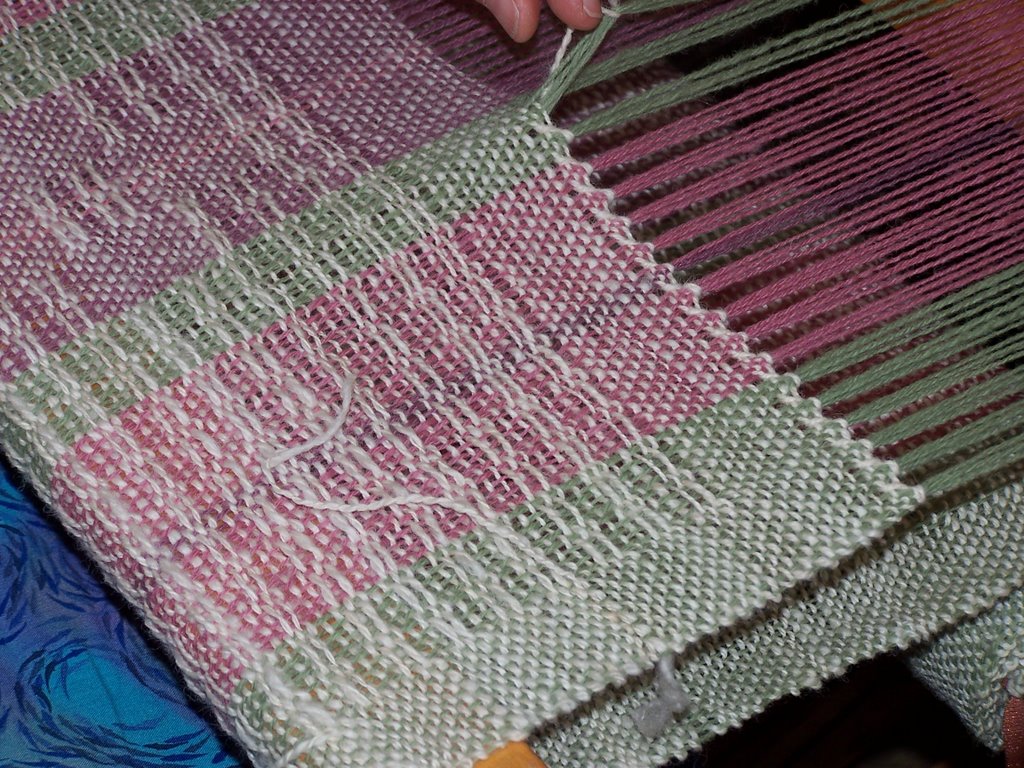
Another angle of the hem stitiching Louise is doing. Here you can see a bit more of the pattern of the weaving.
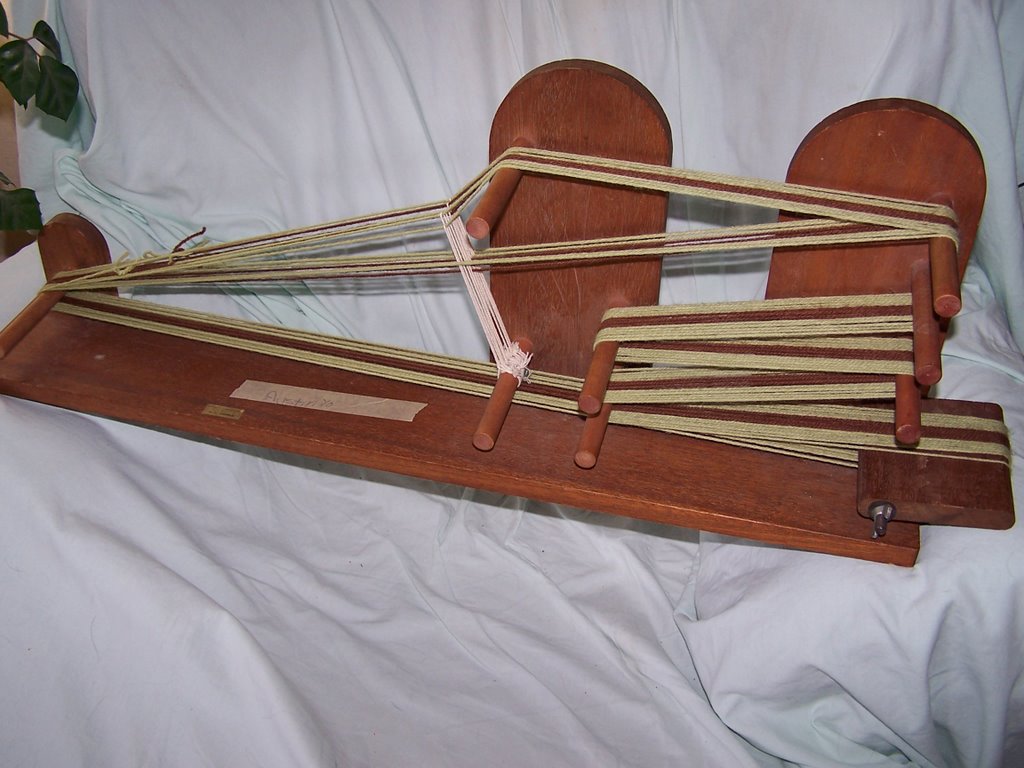
Here is Louise on the loom and Lynnette sitting at her wheel watching Louise. We're all finished spinning at this point and only the hemstitiching needs to be done on the shawl then it can be cut off the loom.
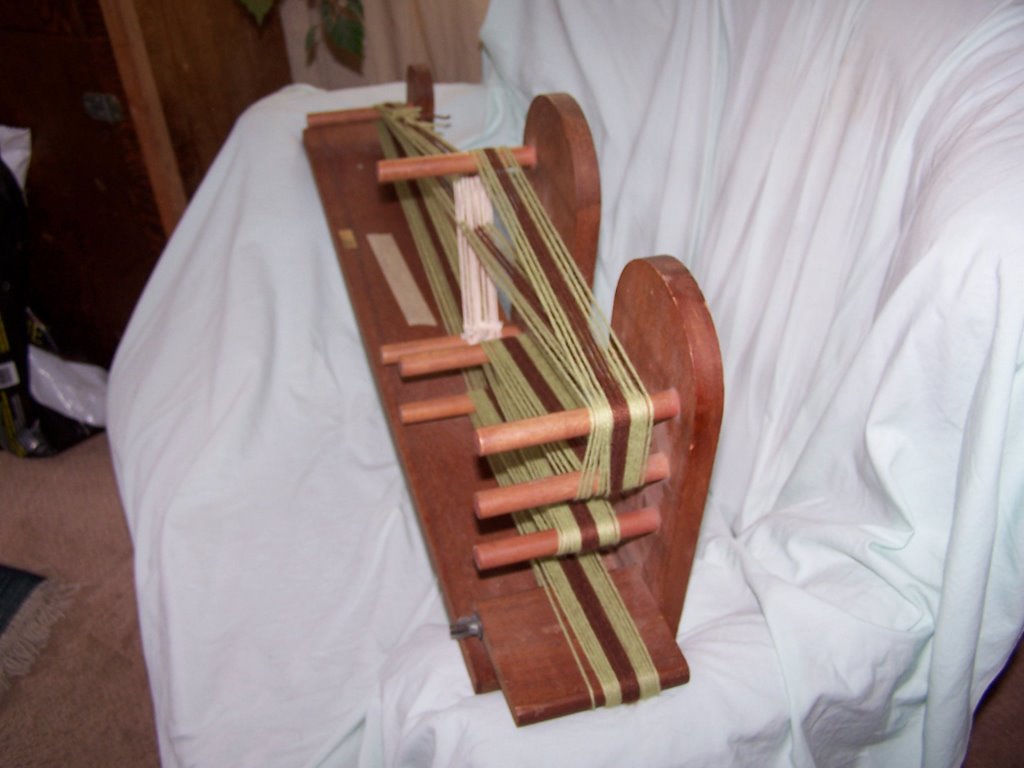
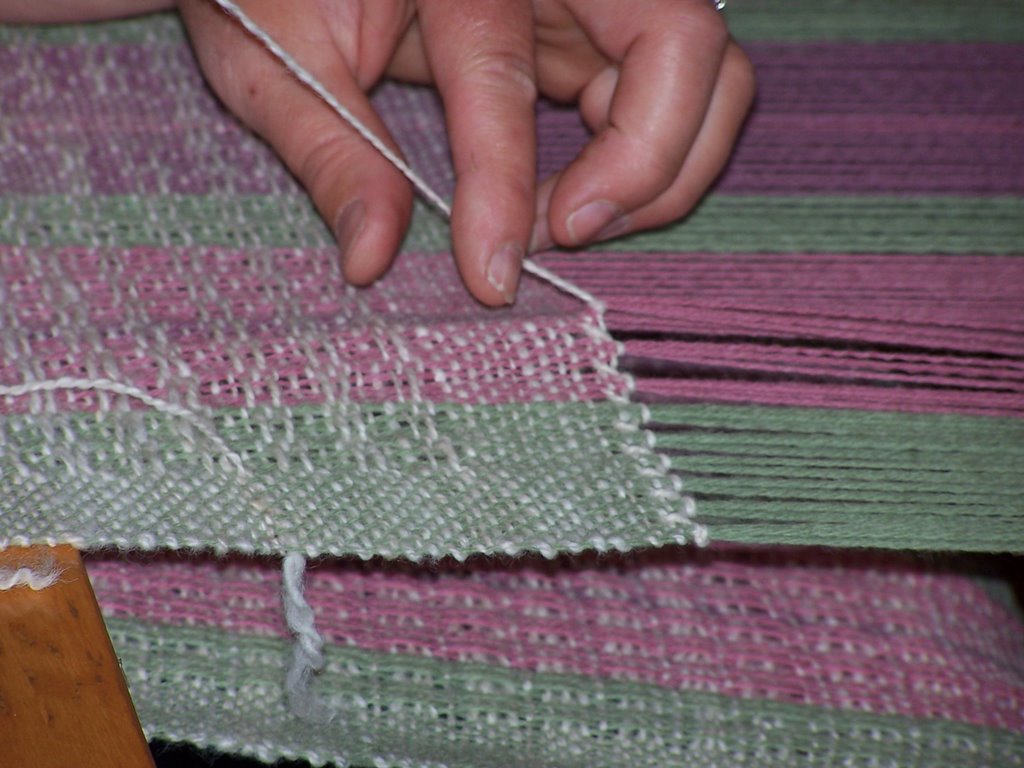
This is Louise hem stitiching the finished shawl.

Lumby Days 2006

Again this year, as last year, we (Monashee Spinners and Weavers) did a Sheep-to-Shawl demonstration at the Lumby Days celebration. This year Louise had some pre-spun/pre-dyed wool warp on her loom (green, pink, purple). Kitty and I were spinning the whole time while Denise and Lynette took turns as spinner and plyer, this way we had 3 spinners spinning "singles" while 1 was plying the singles into a 2 ply yarn and winding this onto bobbins for the weaver. What we were spinning was a Border Lieicester (pronounced Lester)/Finn cross sheeps wool which had been washed and flicker carded. Louise had raised this on her own sheep. I was so busy spinning and such that I forgot to take pictures during the process, so by the time I thought of it Kitty had already left and Denise was in the process. Oh well, better late than never.

Monday, June 05, 2006


Here are a few inkle bands I've made in the past. As you can see, I made a key chain with one of them. The longest band I can make on my inkle loom is about 60 inches (152.40 centimeters). These bands can be made various widths and with as many colors as you want (fewer colors are usually better than too many).

This is the start of the weaving. Inkle weaving is a "warp faced weave" meaning that the warp threads are what shows when the weaving is done, though you can see the "bumps" where the weft threads are inside the warp threads and with the difference in colors here, if you look closely you can see bits of the weft inside the warp.

I found this yarn hard to work with as it has a stretchiness to it. It is much better to work with yarn/cord/threads that don't have much if any stretch, and you will have a better end product as well.

Inkle weaving is basically a simple process and with a little bit of practice you can get quite good at it and make some nice projects.

Sunday, June 04, 2006


In each of these shots you can see the white "strings" which are the heddles. These are needed to create a "shed" for passing your weft threads through when weaving.


Here is Evelyn's loom "dressed". In other words, the warp threads have all been measured and wound on around the pegs. The first one goes through a heddle and over the top post, the second one is "open" (doesn't go through a heddle) and doesn't go over the top post. You continue with the odd numbers going through the heddles and the even numbers being open until you have all the warp threads on that you decided you wanted for the width of your project.

This is the inkle loom Evelyn brought with her to learn on today. The tensioner on this loom is in the same spot as on mine, but it works in a totally different way. Mine slides where this one tips. The purpose of the tensoner: as you weave there is "take up" which causes the warp threads to become shorter and tighter on the loom, so they have to be loosened off a bit. The white threads you see hanging on the one post are the heddles which I attached to the bottom post, just at the base of where they are now.


This is my inkle loom. There are many ways to make these little looms, but the basics of all of them are the same. On this one the "tensioner" is on the right side (as you look at it in this picture), on many it's on the left side. The "stuff" you see on the one post are the heddles... pieces of cord used for holding some of your warp threads.

Inkle Weaving

Recently Kiwi asked "what is inkle weaving" so I'm going to tell you and show you. Inkle weaving is weaving on an inkle loom. There... that's it.

Hahaha... okay, I'll give you more info. What you weave is long strips of various widths to be used for belts, or whatever you want. You can sew several of them together to make a fabric for a purse or a vest or.... your imagination can run wild.

Yesterday I got a phone call from a teacher who wants to teach her students to inkle weave. Evelyn has done some inkle weaving in the past but not for awhile so was looking for someone to show her how to do it and was given my name and number. I was more than happy to have her out to my home today and show her the basics, enough to get her and the kids off to a good start. I also recommended the book Inkle Loom Weaving by Helen Bress as it is full of great information: how to make an inkle loom, how to warp your loom, several patterns to weave and how to create your own patterns.

They (whoever "they" are) say "a picture tells a thousand words", so I took pictures today for you to look at.